The Geometry of a Nation: Unfolding the Nepali Flag
Nepal's flag is the only national flag that isn't a quadrilateral, its distinctive shape precisely defined by mathematical instructions enshrined within Nepal's constitution. This piece walks through that construction, one decree at a time.
A Flag Unlike Any Other
The Nepali flag is the only national flag that isn't a quadrilateral, its distinctive shape precisely defined by mathematical instructions enshrined within Nepal's constitution.
If you want to see these rules in action, there are tons of resources online. Numberphile beautifully demonstrated hand-drawing the flag on cardboard. It's where I first found out that there is a rule to draw the flag. This GeoGebra project offers a step-by-step visualization using a slider, I took the pictures for this article from that project. And for the coding enthusiasts, Stack Overflow has a thread where some folks generated the flag using JavaScript, Python, SVG, Mathematica, and PostScript.
Here are the extracted flag construction details.
Drawing by Decree: The Geometry of Nepal's Flag
Step 1: The Foundation
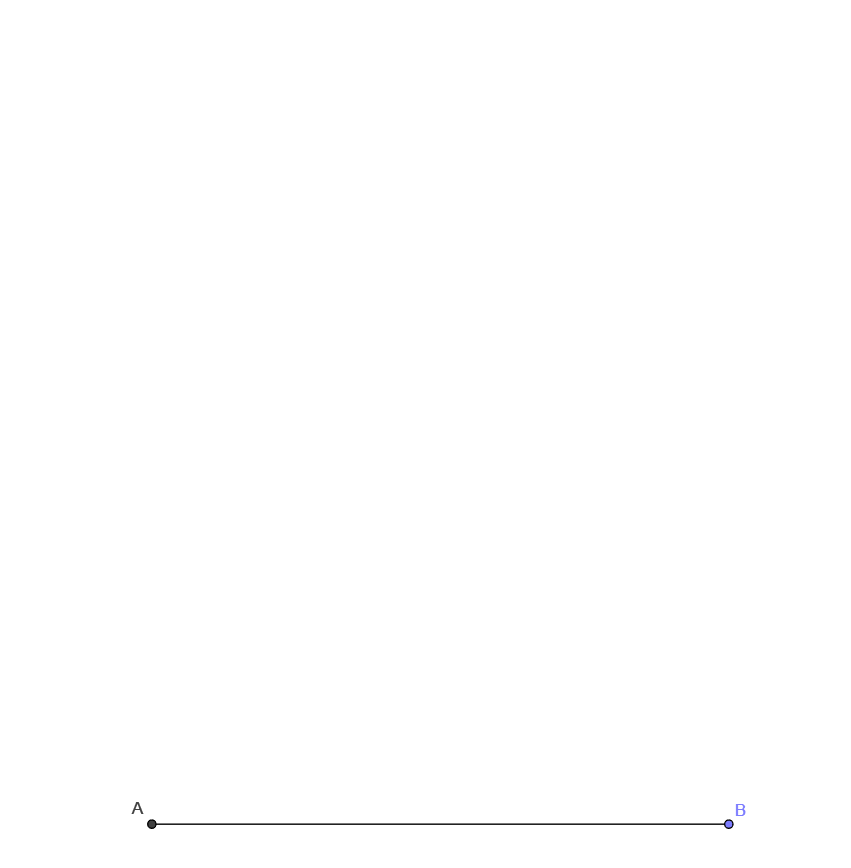
It begins with the foundation: a single line, the base.
The images I'm using come from GeoGebra, but if you're making a real flag, you'd traditionally use crimson cloth (Hex: #DC143C, RGB: 220, 20, 60). Let's be honest, though, printing it out is much easier!
But if you were going the traditional route, you'd start at the bottom of your crimson cloth and draw a line, AB, any size. This line is the foundation upon which all other measurements are based, setting the scene for everything that follows.
Step 2–5: Constructing the Twin Triangles
From point A, a perpendicular line AC is drawn, its length precisely determined as AB plus one-third of AB. This vertical axis becomes the backbone of the upper and lower triangles, setting the stage for their formation.
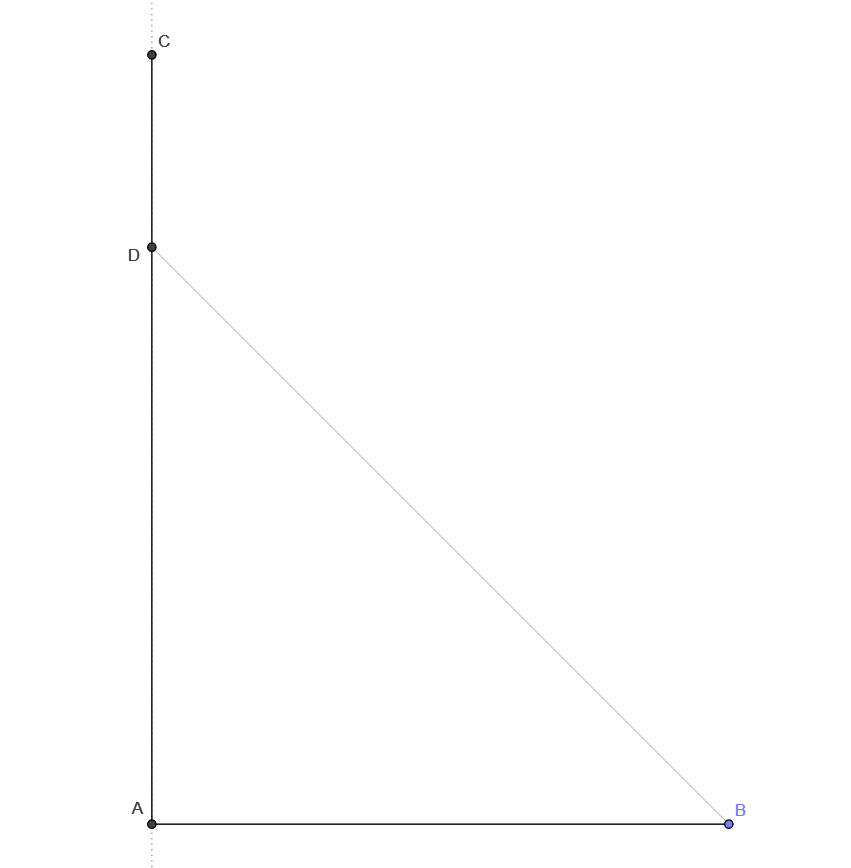
The next step is marking point D, ensuring AD equals AB, followed by connecting BD, the diagonal stroke that gives the flag its first defined shape.
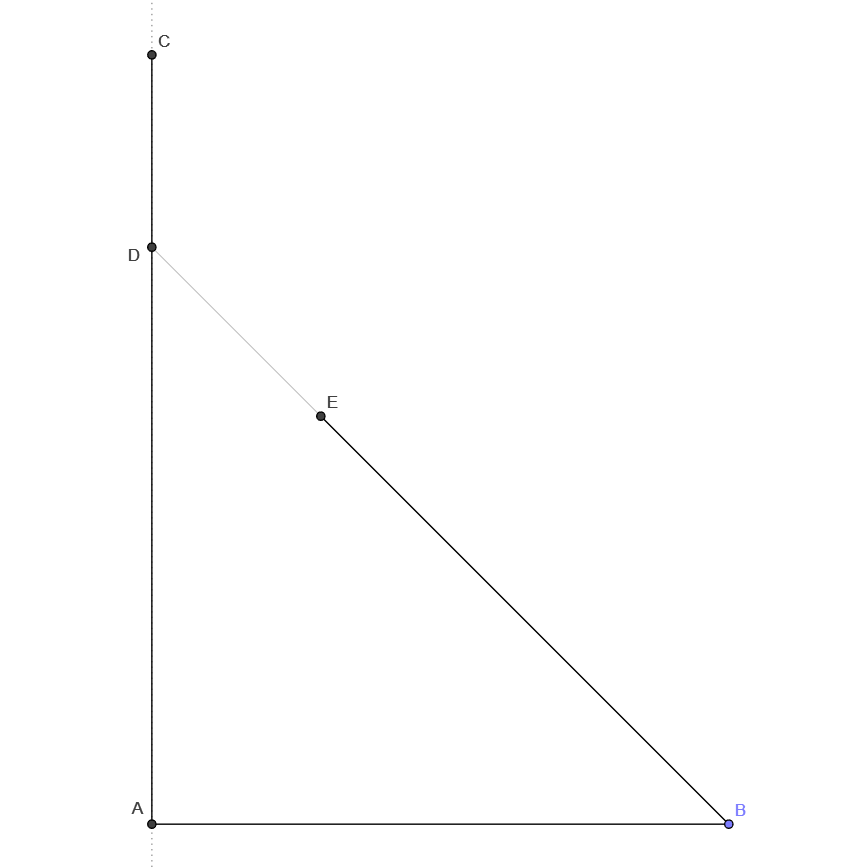
The structure deepens as we bisect BD at E and extend a parallel segment FG, identical in length to AB.
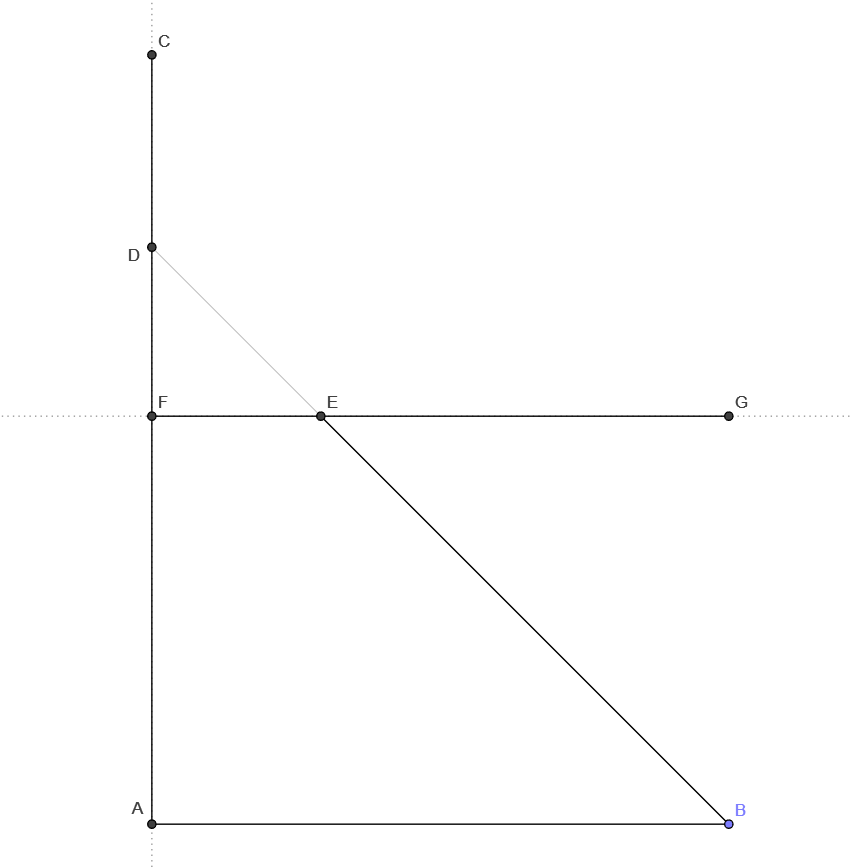
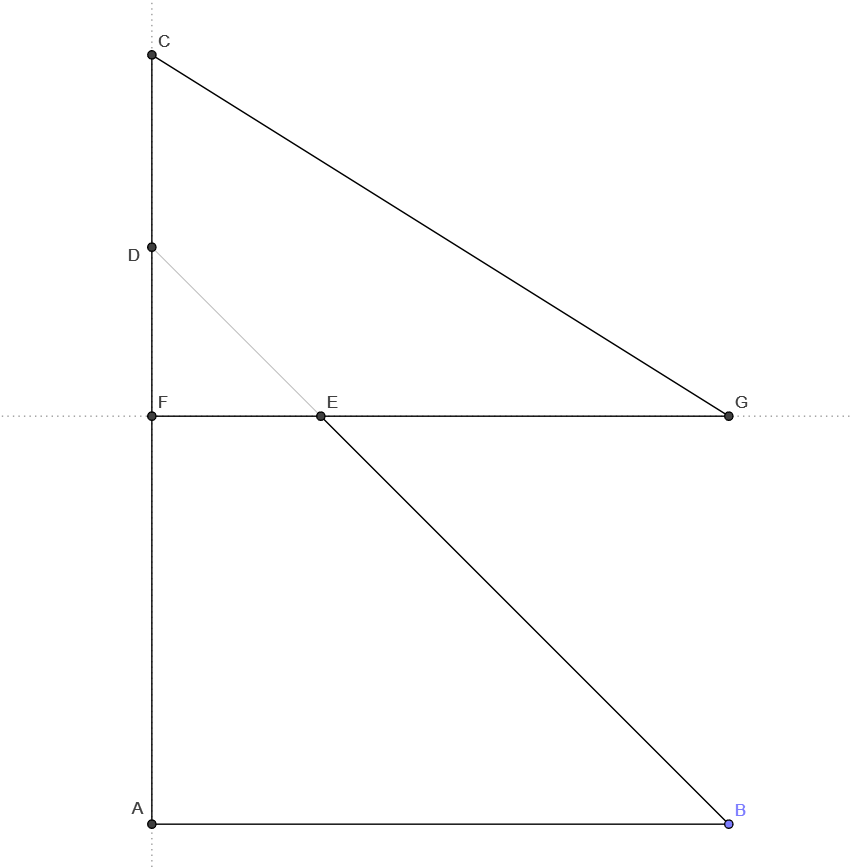
With CG now established, the foundational framework is complete.
Step 6–18: Constructing the Moon
With the skeleton in place, we turn our attention to the moon and sun.
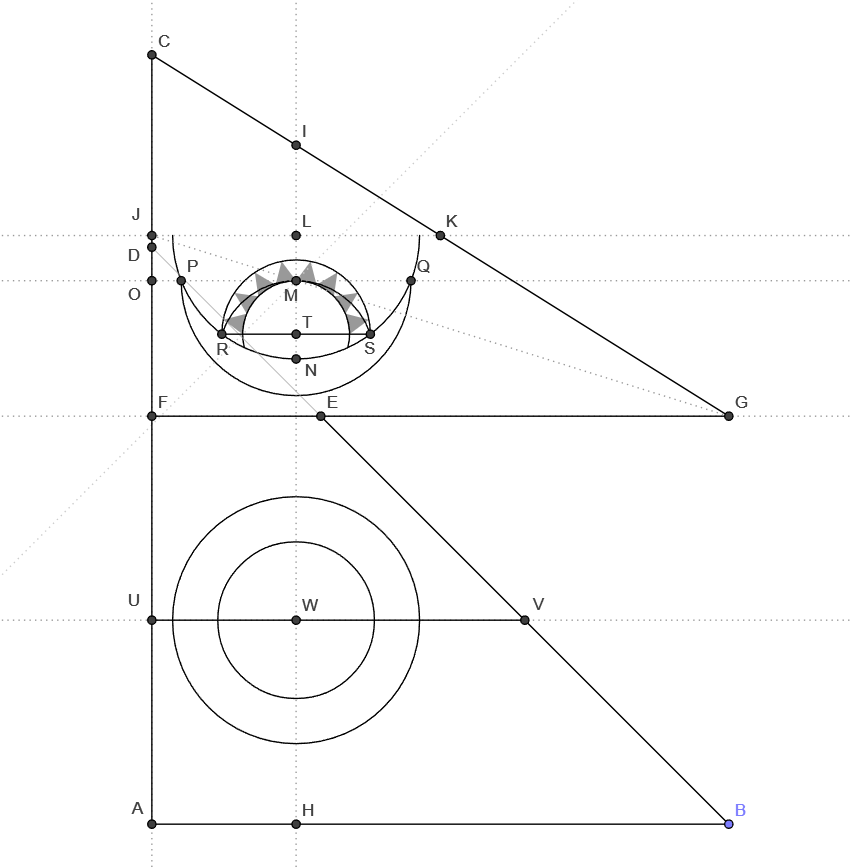
The moon, positioned on the upper triangle, is a careful assembly of arcs and radii. From AB, we measure a quarter of its length to determine AH, establishing the moon's placement. A vertical line HI extends parallel to AC, guiding the internal construction. Bisecting CF at J and further extending JK, we refine the structure until the central reference points emerge.
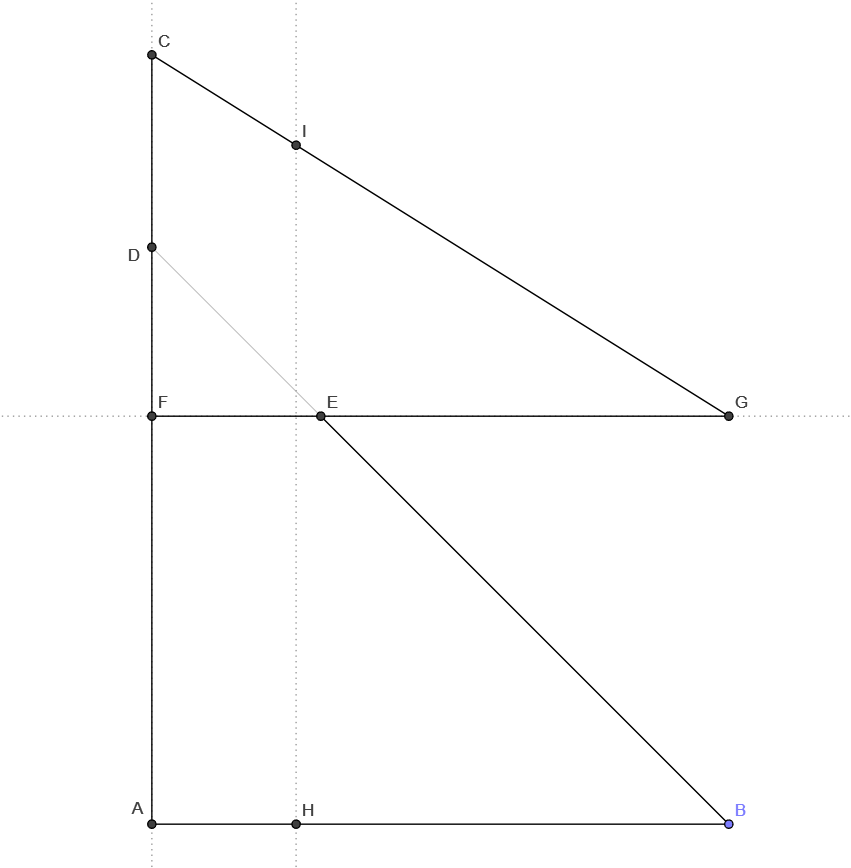
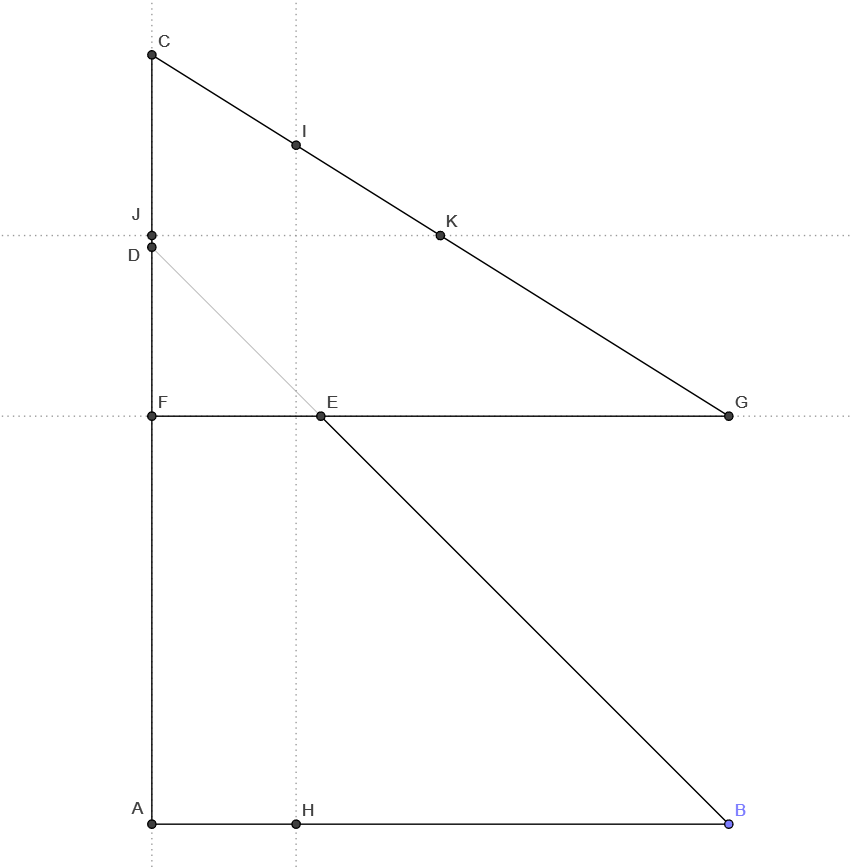
With geometric precision, arcs are drawn from centers L, M, and N, curving into crescents that form the moon's distinct shape. Additional arcs define the eight triangular rays.
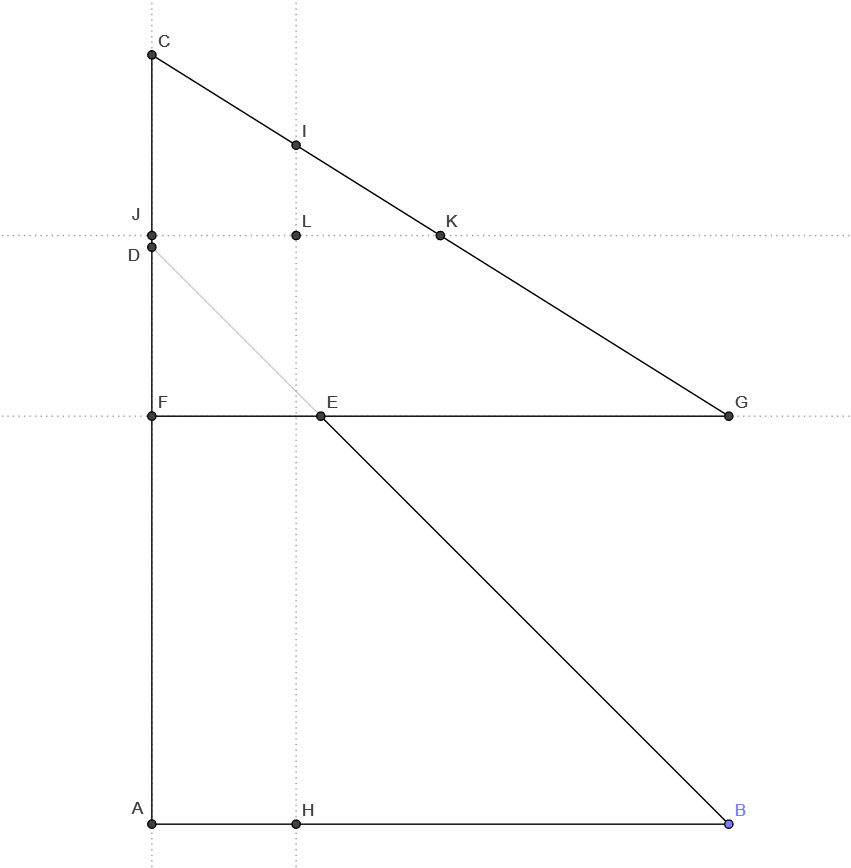
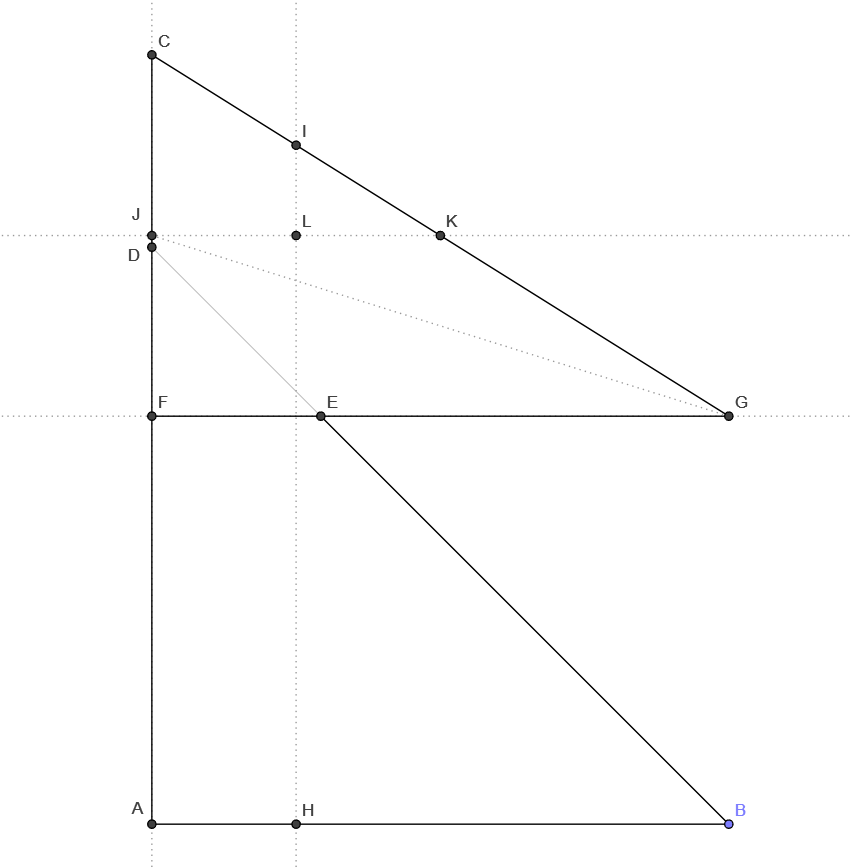
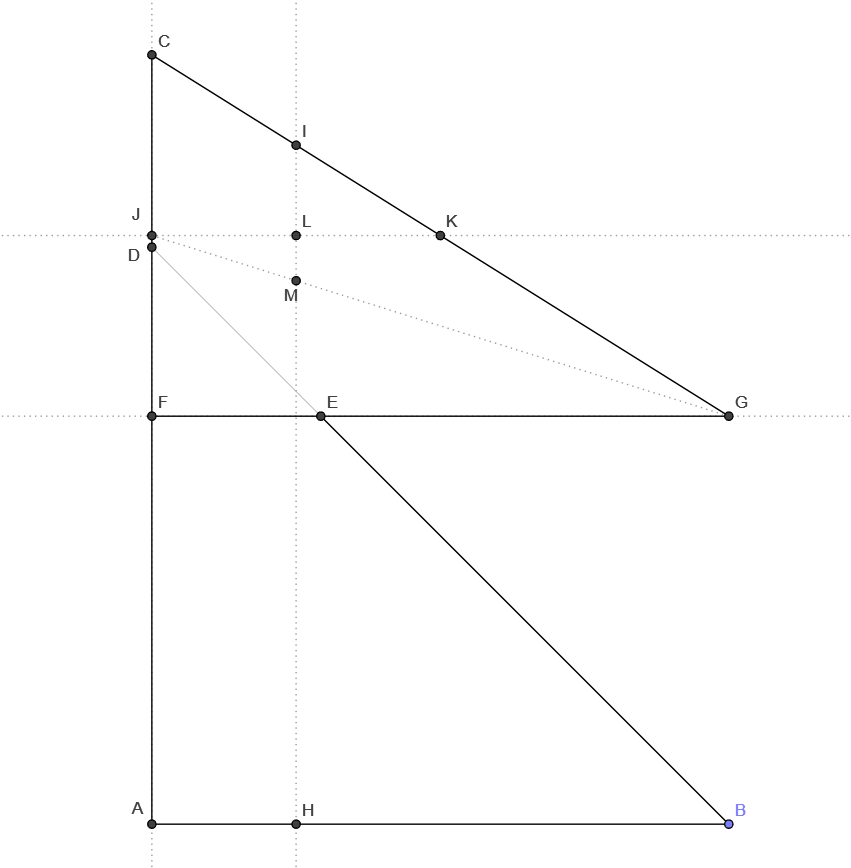
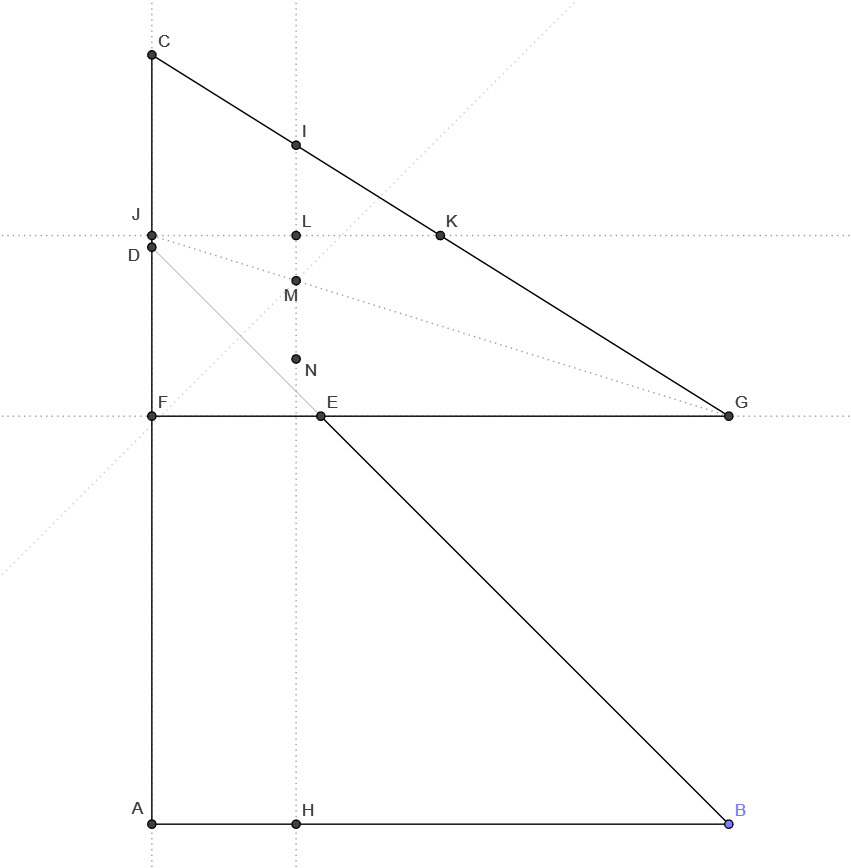
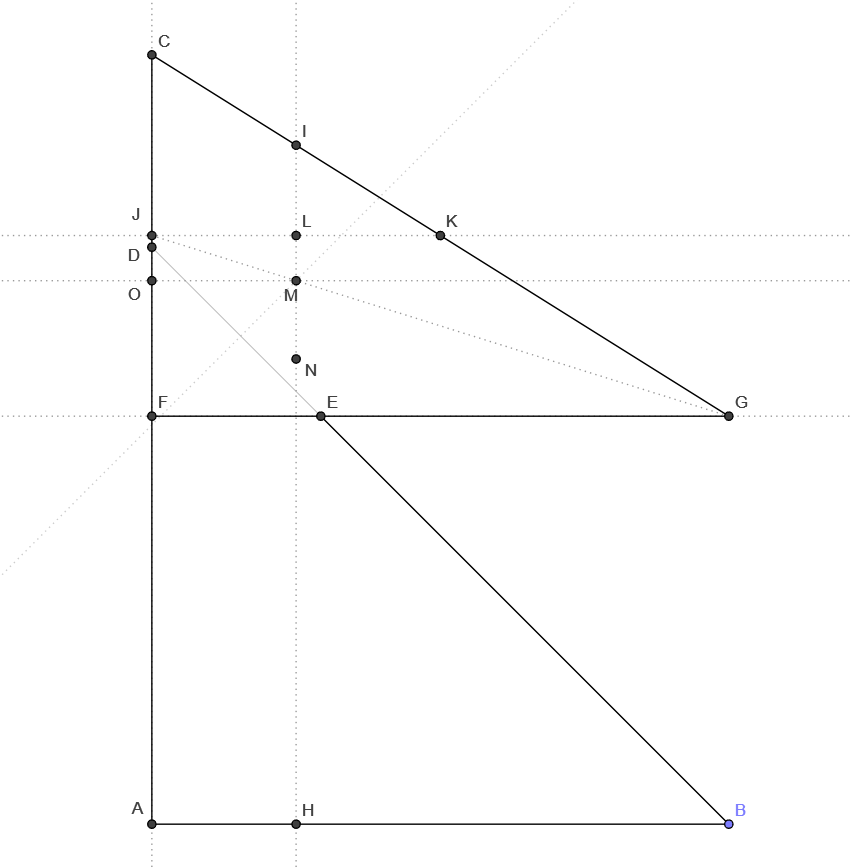
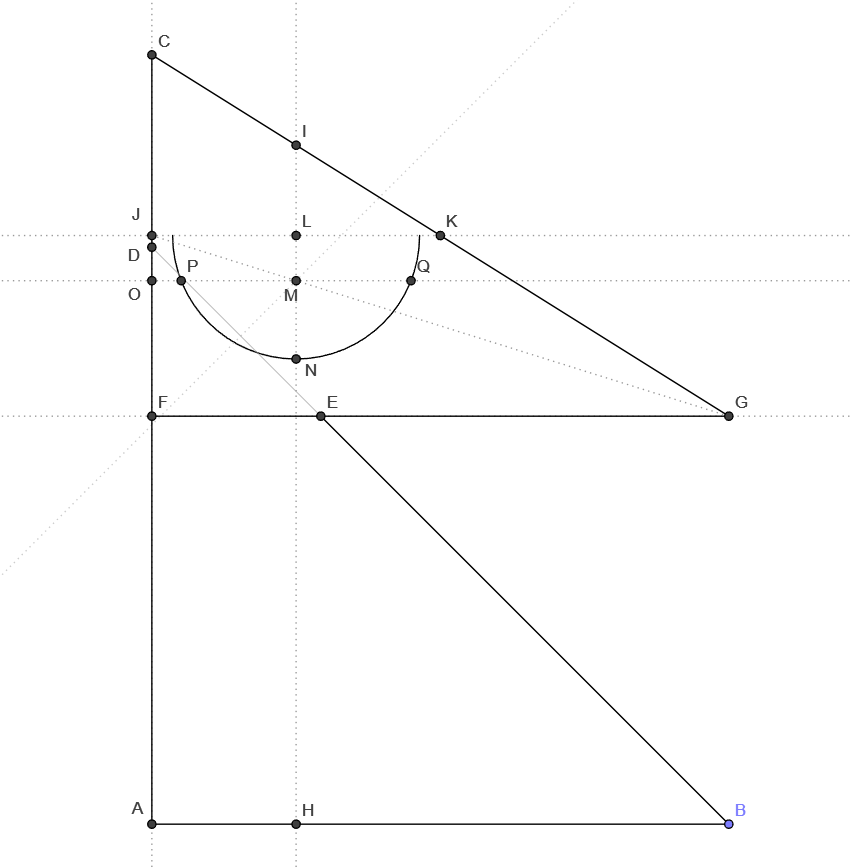
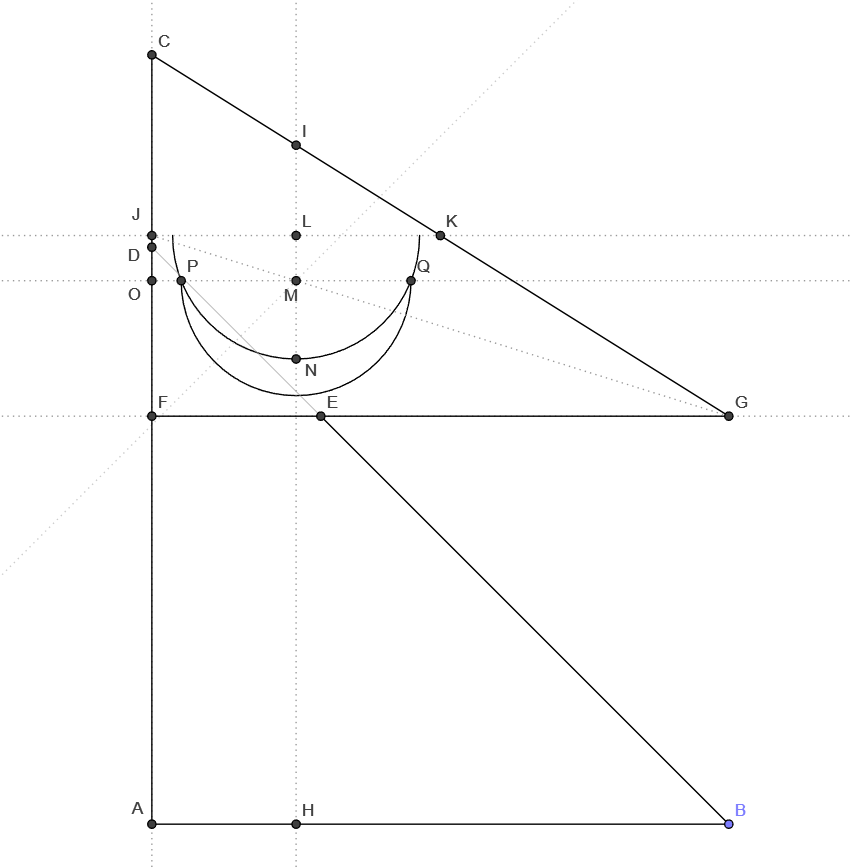
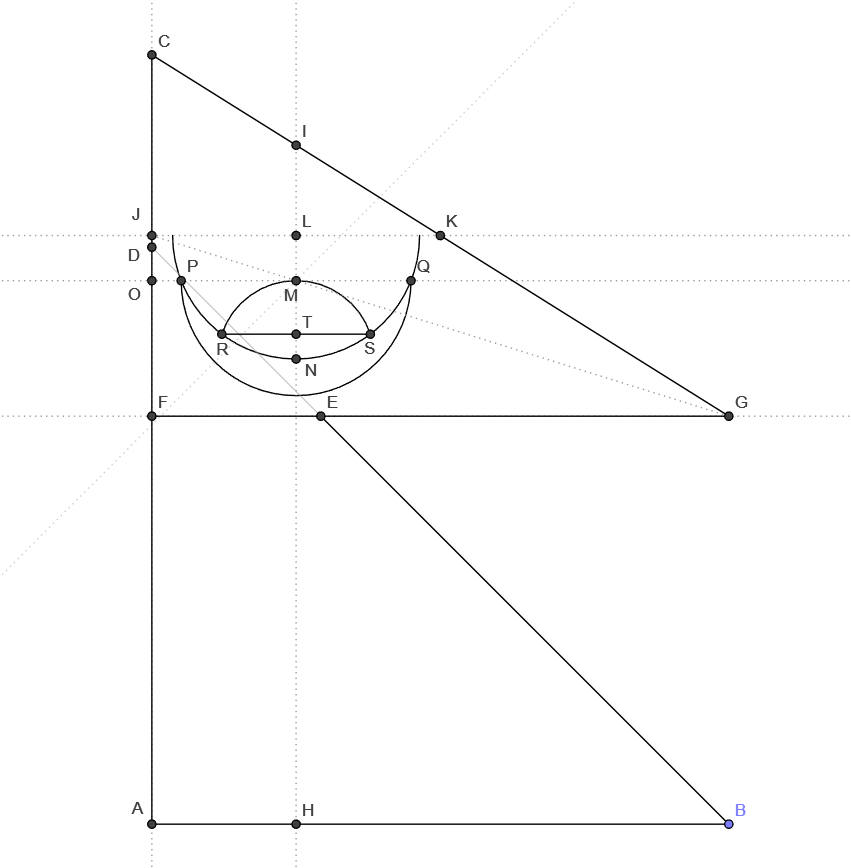
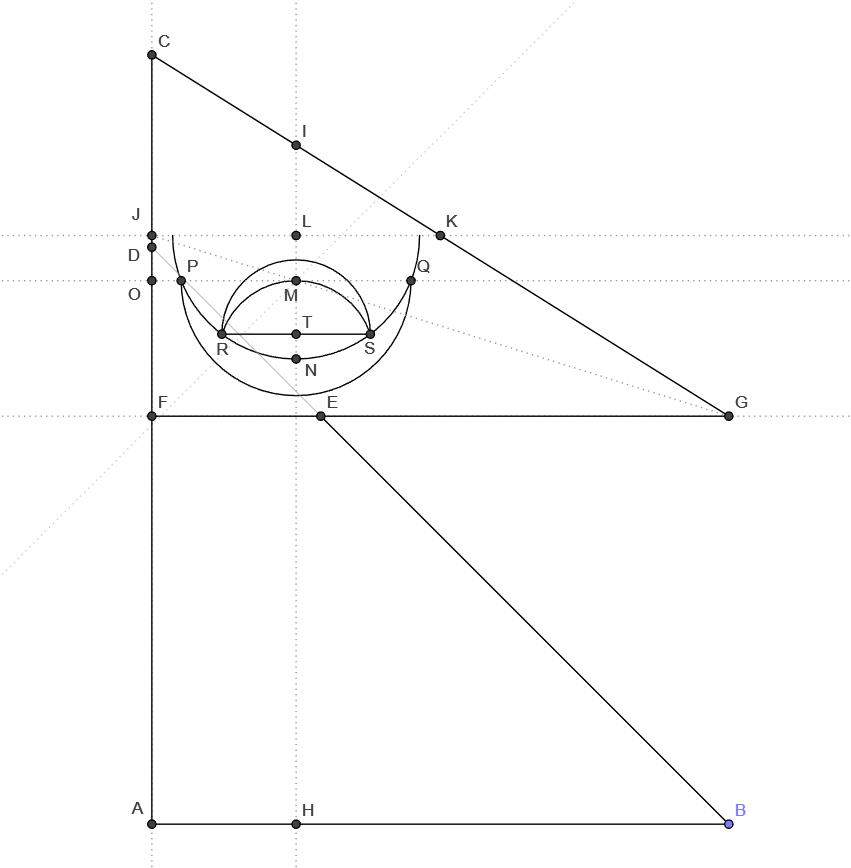
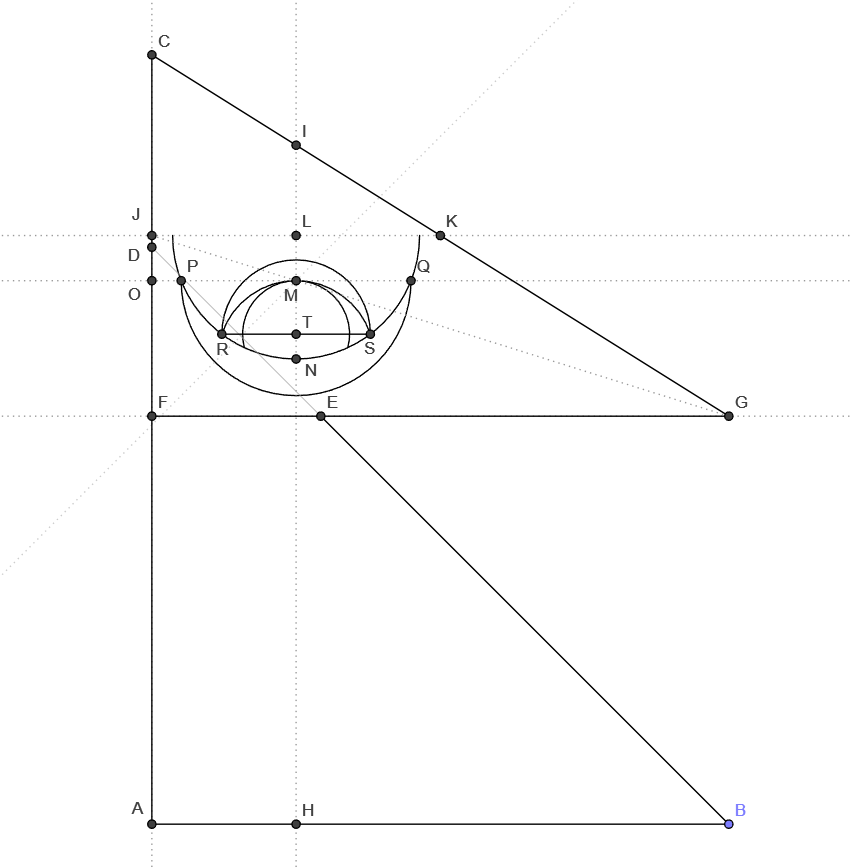
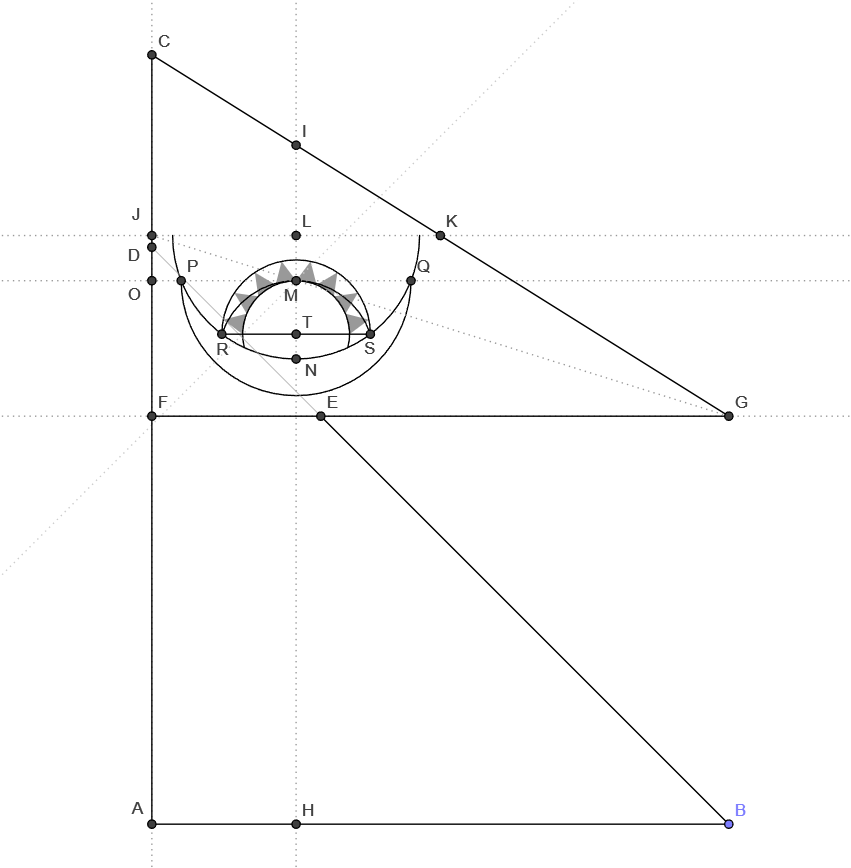
The moon takes shape as a construct of pure geometry, its curves and edges dictated by the same principles that govern the flag's form.
Step 19–22: Constructing the Sun
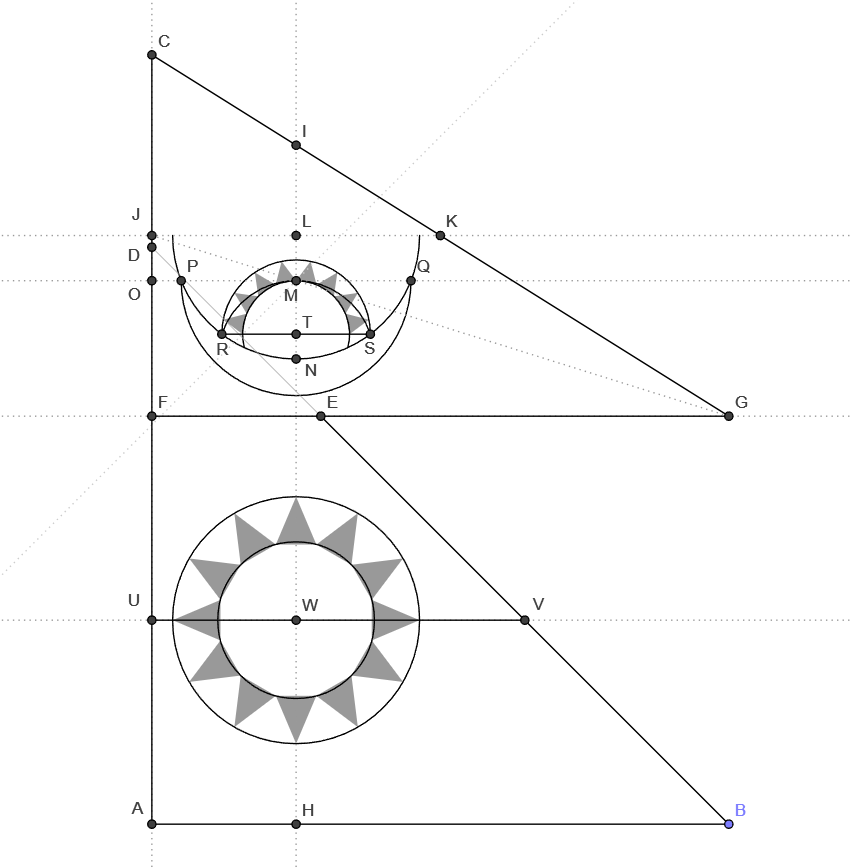
Below the moon, centered within the lower triangle, shines the sun. The process begins with a bisection of AF at U. A parallel line UV extends to meet BE at V, marking the sun's foundation.
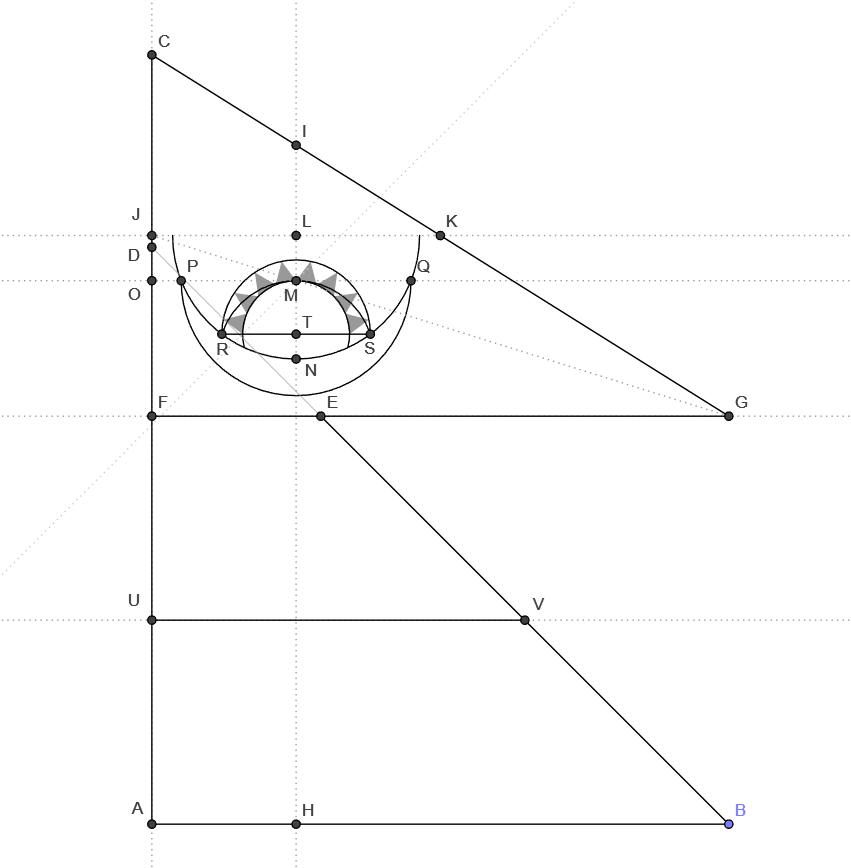
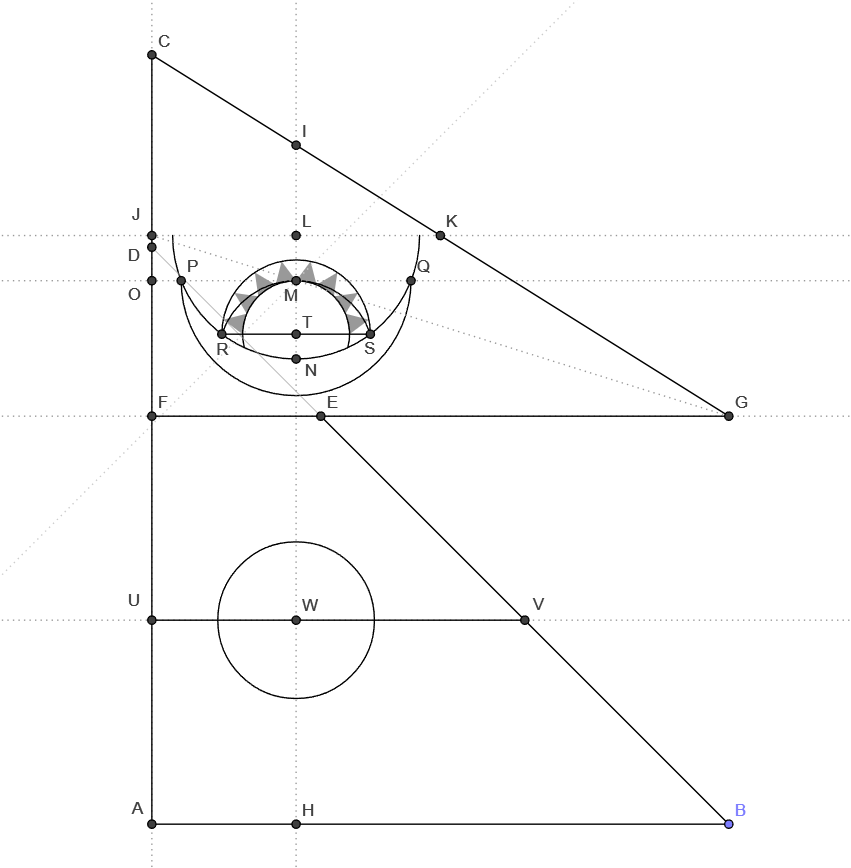
From a central point W, determined by the intersection of UN and HI, two perfect circles are drawn. The outer circle defines the sun's reach, while the inner boundary shapes its core. Within this sphere, twelve equal triangles burst outward, their tips touching the outer edge.
Step 23–25: The Final Border
With the sun and the moon in place, the last step in this geometric construction is the deep-blue border, a frame that binds the entire design. The border's width is determined by the segment TN, ensuring that the proportions remain consistent.
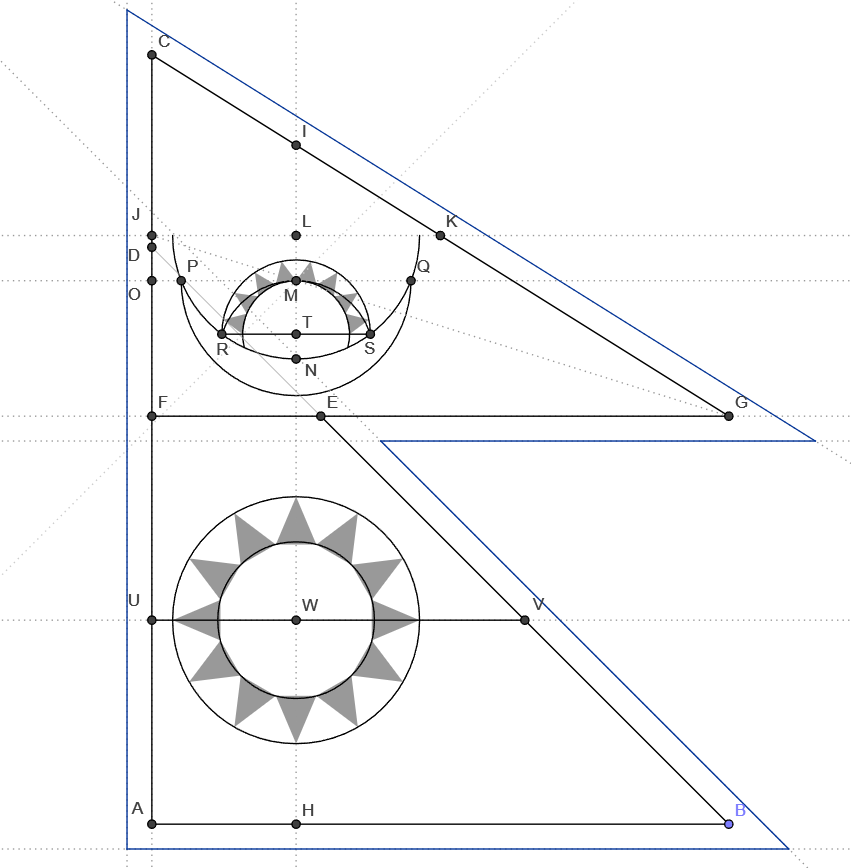
If the flag is to be hoisted, an additional extension may be made on the side along AC, allowing for the necessary fixtures.
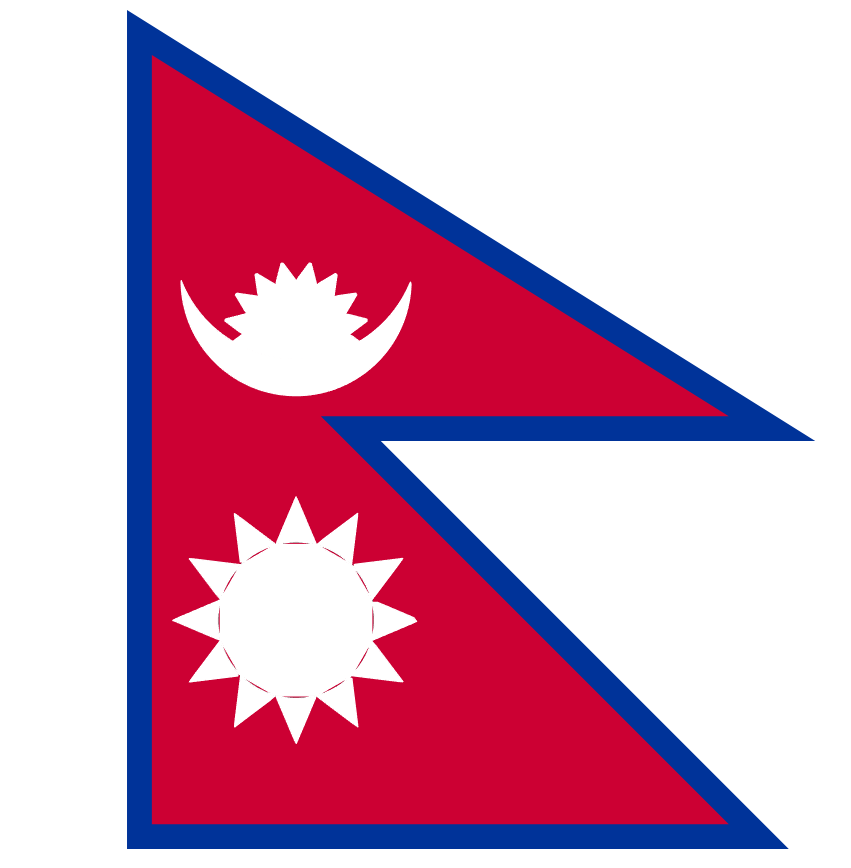
The aspect ratio of Nepal's flag is unusual, and this weirdness comes from the blue border. Without the blue border, just considering the internal crimson triangle, the aspect ratio is 3:4. But with the blue border, the aspect ratio is:
which is roughly
More on the aspect ratio here.